


Sitecore Content Editor and Sitecore Experience Editor: The two fundamental tools you must learn and dominate
Continuing with the features of Sitecore, now I will talk to you about two very important tools in web development with this CMS. The benefits and advantages offered by these tools are very varied and, above all, very useful, since they facilitate the development of components within your web project and provide a high organization level of content and information in which it will be almost impossible to get lost. Let’s take a look.
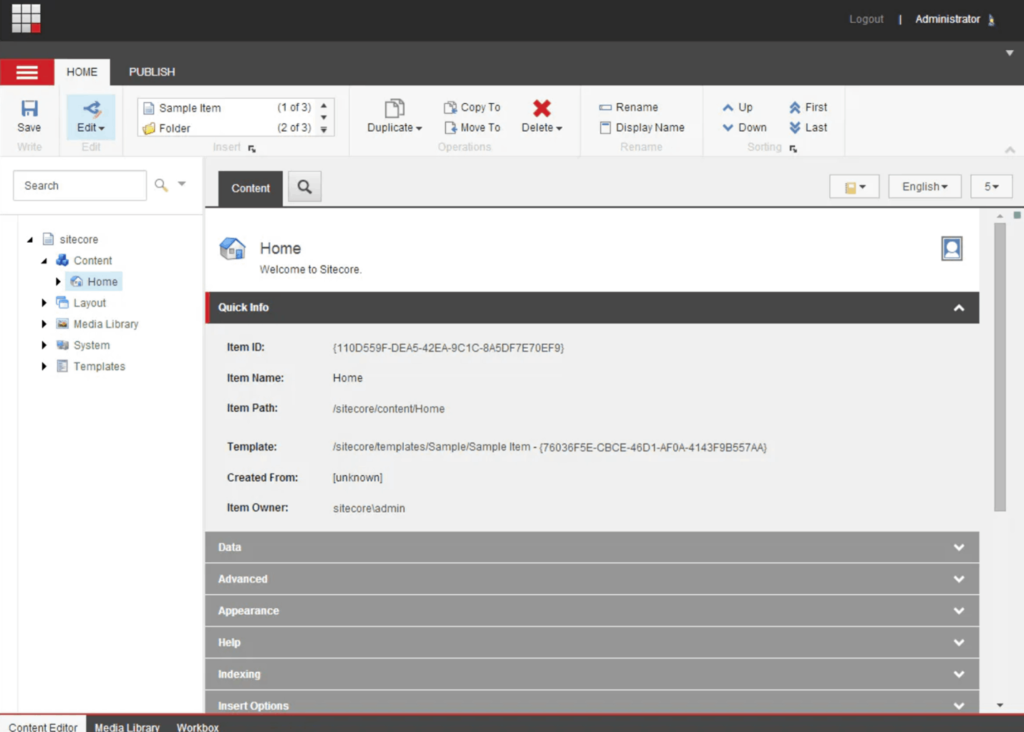
The Sitecore Content Editor is an editing tool that you can use to manage and edit all the content on your website. This tool’s user interface contains three main areas/sections that you can customize to fit your needs and make your environment more friendly. We’ll take a look at each section.
The ribbon.
This is the first section we will learn about today, this area has all the features and functionalities that you can use during your website development and design.
Here we must take a little pause because you have to know something very important: you can log in to Sitecore CMS with different roles, each role has different rights so, depending on the role you will have more or fewer functionalities available in the Sitecore Content Editor’s ribbon.
As a minimum, you will be able to see something like this in your ribbon:

As you can see, you will be able to edit, sort, delete and even publish the items/components that you work for your website. Now, if you have more access rights when you login into Sitecore you will see this in your ribbon:

As you can see there are more functions and options in your ribbon, and each of them will help you to configure, design, and add more properties to your items/components, for example the tab named “Presentation” will provide you a list of options in which you will be able to see the details of your component or, in a high level, the details of the website page that you’re working on, this will facilitate the way and order that you display the components of the website page. This was only just a very useful example of all the benefits and features that you can find, use, and manage in the Content Editor’s ribbon.
The content tree.
The secondary area of the Sitecore Content Editor is the content tree, as the name suggests, this is a tree structure in which your website is organized, but not only your website, it is also organized the system and personal features, media library, layouts, templates, and others.
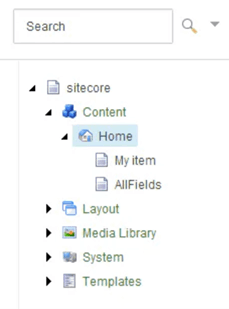
As I said, on each section of this content tree you can expand every group in the list and you will be able to see, create, sort, rename, delete, and handle in a friendly way the items and subitems from the website or websites that you’re working on.
One of the great benefits of working with Sitecore is that you can have lots of independent websites allocated in your instance, and you will handle each website without interfering with another one.
As you can see in the image, each folder contains important elements of your website, for example, in the templates folder you can add every model structure of your website components with all the fields, field types, and other properties. In the layout folder, you can add “renderings” for example, which is basically the connection between your model and your view, in a better way, and in an MVC context this will be your controller.
In the content folder, you will be able to add each view of your website, these views are coming from your templates and are also connected to your renderings, the ones that will be in charge of rendering your views.
The content area.
Finally, we get to the last, -but not least-, area of the Content Editor. The content area is the most important because you will be able to include all the information of every view/component from your website.
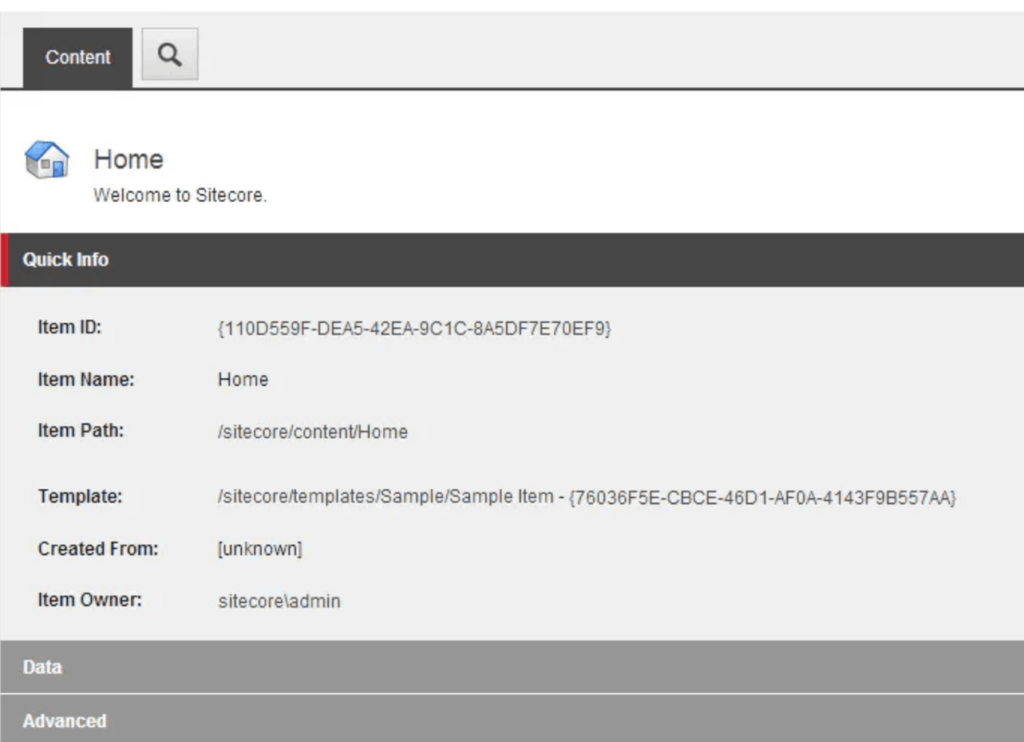
For example, you can create inside the Content folder another one named “My Website”, and inside of this you can create and separate by folders every page of your website. In order to keep everything organized you can include every component/view like I said and then you will be able to fill with their respective information (title, paragraphs, images, lists, forms, etc) each view, but not only complete the information, you can find more features inside this content area as well.
Remember that you will have already created your models, in the templates folder, so when you want to include a new item, component, or view you can insert it from a created template. Continuing talking in an MVC context, in order to get everything connected, when you have already completed all the information of every view you will be able to attach every view with its respective rendering (which is, in an MVC context, the controller) so you can complete and connect the model, the view and the controller, which is the one in charge of load the view when you publish and test your website. Please, don’t forget to save your changes.
For now, that’s all from the Sitecore Content Editor… Interesting, isn’t it? And probably you are thinking right now: “ok, this is very easy to handle, but what if this can be easier?” and you are right.
Sitecore CMS provides a way better option when you want to create and add all your views and pages from your website, let me introduce you to the Experience Editor.
Experience Editor
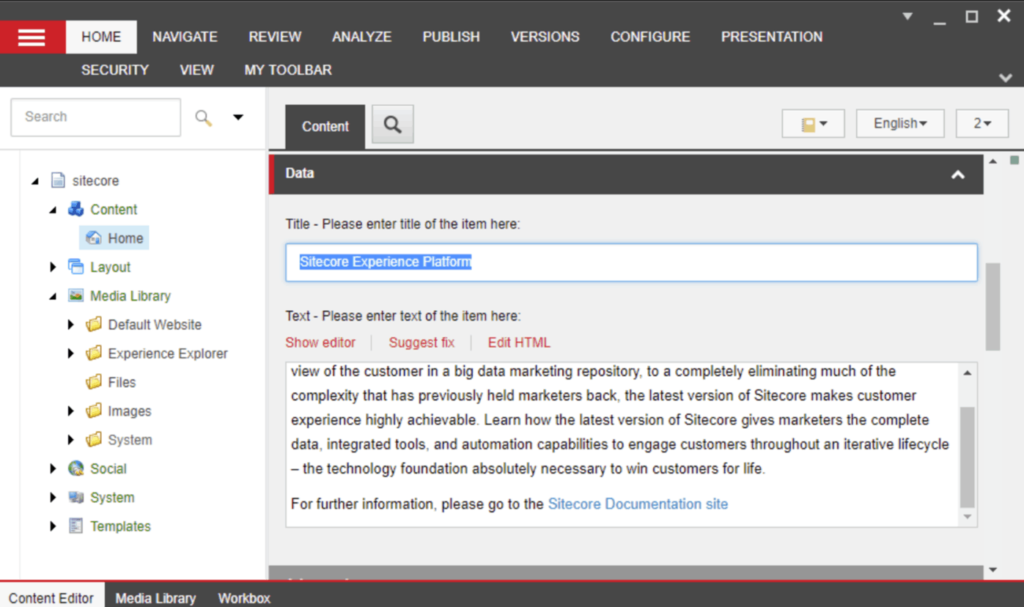
The Experience Editor is a WYSIWYG (What You See Is What You Get) editor that allows you to easily make changes to items directly on the page. You can edit all the items that are visible on the page — text, graphics, logos, links, forms, etc.
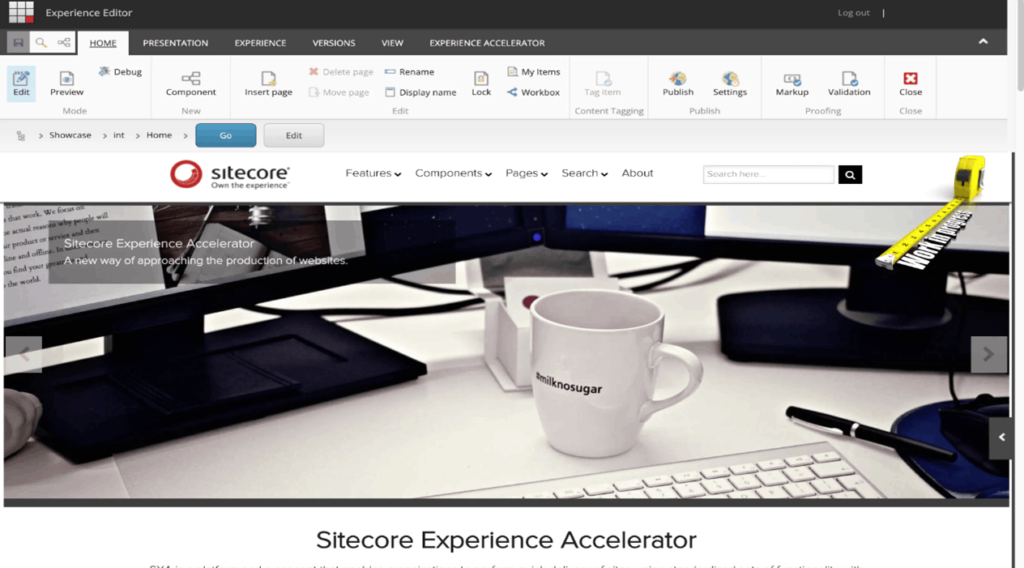
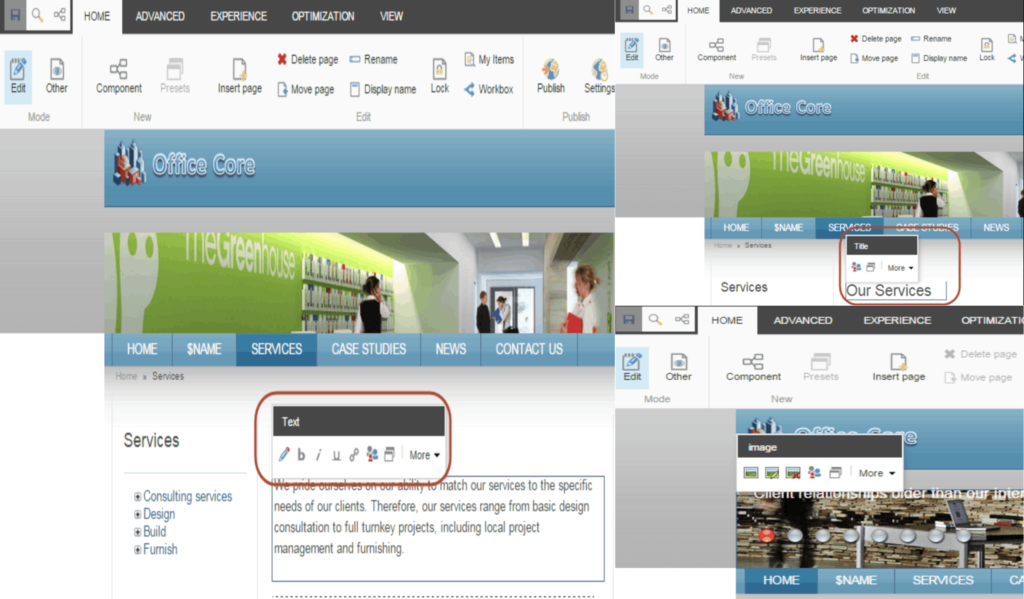
As you can see in the images above, there is also a ribbon that helps you to navigate into all the features you can choose during the content editing process. This is a great option for everyone who wants to see a preview of a page from their website, this helps you to have a better understanding of how the content is being rendered and if it’s how you were expecting to have it in the final result.
If you want to edit a field here in the Experience Editor, you must click on the element you want to edit and move to the ribbon, there you will see a “Edit” option and you choose that option. Depending on the field type of the element you want to edit you will be able to do more or fewer steps, for example, if you want to edit a text field (which could be a single-line text or a rich text field) this will expand so you can edit directly there, then if you have to edit an image or a more complex field which is not just a text field, the Experience Editor will provide your more options and features in the ribbon so you can edit without problems all the items from your website. As I said in the Content Editor’s final paragraph: Please, don’t forget to save your changes.
And that’s all from today guys, hope you have enjoyed this blog post about these two Sitecore big features, want to learn more about the Sitecore Content Editor or Sitecore Experience Editors? Please, I invite you to create your own website and start using these two tools, you won’t regret it.
If you like to learn more about Sitecore Content Editor, Sitecore Experience Editor or want to extend more in this beautiful Sitecore CMS, check out the following links: